






Plastic Granulator: How to Choose One for Injection Molding

Plastic Granulator: How to Choose One for Injection Molding
Sprues, runners, and rejected parts pile up faster than most plants expect. On a 24-hour job, a single press can generate hundreds of kilograms of scrap a week — material you already paid for. A plastic granulator turns that pile back into usable regrind, and the difference between a good one and a wrong one shows up in electricity bills, noise complaints, and whether your recycled material actually runs through the press without defects.
I’ve walked into plants where the granulator was bought to match the biggest part they ever made, and now it sits oversized and loud, chewing a handful of sprues an hour. I’ve also seen the opposite: a machine so small the operator feeds it all shift and still falls behind. This guide is how to pick the right one, with the sizing math and the decisions that actually matter.
What a Plastic Granulator Does
A granulator cuts scrap plastic into small, reusable granules. Material drops through a feed hopper into a cutting chamber, where a rotating rotor fitted with knives shears it against stationary bed knives. Pieces keep circulating until they’re small enough to fall through a screen at the bottom of the chamber, then discharge into a bin or conveying line.
Five components determine how well it works:
- Rotor — open or closed, carrying the rotating knives
- Knives — rotating and stationary, with a precise clearance between them
- Screen — a perforated plate whose hole size sets the final granule size
- Cutting chamber — its geometry affects cutting efficiency and heat buildup
- Drive and hopper — motor power, plus how material is fed and discharged
Granulator vs. Crusher vs. Shredder
People use these words interchangeably, which is how plants end up with the wrong machine. They’re genuinely different tools:
| Machine | Handles | Output | Where it sits |
|---|---|---|---|
| Гранулятор | Sprues, runners, small rejects, thin-walled parts | Uniform 4–12 mm granules | Beside the press or central |
| Дробилка | Bulky parts, thick walls, solid blocks | Coarse, irregular chunks | Central reprocessing |
| Измельчитель | Very large items, purgings, startup lumps | Rough fragments for further size reduction | Upstream of a granulator |
The practical rule when specifying a plastic granulator: if it fits through the feed throat, you don’t need a crusher. If you’re regularly breaking down thick-walled or bulky parts, a heavy-duty crusher does the first pass, and a granulator finishes it. Buying one granulator to do both jobs is the most common sizing mistake I see.
How to Size a Granulator by Throughput
Start from how much material you must process, not from the size of your biggest part.
Daily scrap (kg) = parts per day × scrap weight per shot (part + runner + rejects)
Then divide by the hours you’re willing to run the granulator:
Required throughput (kg/hr) = daily scrap ÷ daily granulator hours
Worked example: 40,000 shots/day at 0.09 kg of runner and reject each gives 3,600 kg/day. If you want that cleared in 3 hours, you need 1,200 kg/hr of real capacity.
Two corrections matter here:
- Peak, not average. If scrap arrives in bursts — a purge, a startup rejection run — size for the burst, or you’ll have material stacked on the floor.
- Screen size derating. Manufacturer throughput is usually quoted with a coarse screen. Drop to a 4 mm screen and throughput can fall by 30% or more. Always size at the screen you’ll actually run.
Screen Size: The Decision That Controls Everything Else
The screen sets granule size, and granule size sets whether your regrind behaves like virgin material. It’s the single most consequential choice in the whole specification.
| Screen size | Typical use | Компромисс |
|---|---|---|
| 3–4 mm | Small parts, thin-wall, high regrind ratio | Fine output, lower throughput, more fines and dust |
| 6 мм | General-purpose sprues and runners | Best balance for most plants |
| 8–10 mm | Thick sections, high throughput needs | Higher output, coarser and less uniform |
| 12 mm+ | Pre-breaking before a second pass | Too coarse for direct reuse |
The target for any plastic granulator: granules roughly the same size as your virgin pellets. Oversized granules behave differently in the feed throat — they bridge, they melt at a different rate, and you get inconsistent shot weight. Undersized output means fines, which create dust, degrade faster, and can cause black specks.
Rotor Design and Knife Setup
Rotor choice is where a lot of the noise and energy difference comes from:
- Open rotor — knives mounted on a skeleton frame. Handles bulky parts, tolerates surges, but generates more noise and less efficient cutting.
- Closed rotor — solid body with knives in pockets. Cleaner cut, quieter, better for continuous uniform feed. Less forgiving of oversized chunks.
- Staggered / helical knives — cut progressively along the rotor length rather than all at once. Noticeably lower peak load and lower noise.
Then there’s knife clearance — the gap between rotating and bed knives. Too tight and you generate heat and wear; too loose and you tear rather than cut, producing strings and fines. Most manufacturers specify somewhere around 0.1–0.2 mm, and it needs checking on a schedule, not once.
Dull knives are the quiet killer. A granulator with worn knives doesn’t stop working — it just starts producing heat, dust, and long stringy material while drawing more current. By the time someone notices, you’ve been feeding questionable regrind for weeks.
Heat, Noise, and Dust
| Problem | What causes it | What actually fixes it |
|---|---|---|
| Granules melt and clump | Heat buildup from dull knives, tight clearance, or fines recirculating | Sharpen knives, check clearance, water-cooled chamber for high-throughput duty |
| Excessive fines and dust | Screen too small, knives worn, material too hot or brittle | Open the screen a step, sharpen knives, add dust collection |
| Noise above 85 dB | Open rotor, no enclosure, brittle material | Sound enclosure, staggered knives, relocate to a separate room |
| Long strings or tails | Knife clearance too wide, knives dull | Reset clearance, sharpen or rotate knives |
Dust deserves more attention than it usually gets. Fines don’t just make a mess — they have a much higher surface area, so they absorb moisture faster and degrade more on each pass. If you’re drying before processing, dusty regrind is a moisture problem waiting to happen. Pair the granulator with proper dust collection and, if the material is hygroscopic, keep it moving through your dry color mixing and drying steps rather than letting it sit open.
Does Your Regrind Actually Run?
Getting material back is easy. Getting material back that runs without defects is the real test. Four things decide it:
- Size consistency — uniform granules feed and melt like virgin; mixed sizes don’t
- Fines content — high fines mean dust, degradation, and surface defects
- Contamination — mixed resins, metal from a broken knife, oil, or labels. One wrong material in the bin can ruin a batch
- Thermal history — every pass through the barrel and the granulator shifts melt flow a little. Track how many times material has been reprocessed
Clean sprues and runners from a single resin usually reprocess well at meaningful percentages. Painted, plated, or filled parts are a different story — don’t assume they can go back in at all. Whatever you recover needs to be blended consistently, which is why regrind is typically stabilized in a large vertical mixer or metered alongside virgin material in a vertical color mixer rather than shovelled back by eye.
Where the Granulator Goes
| Setup | How it works | Идеально подходит для |
|---|---|---|
| Beside-the-press | Small granulator at each machine, immediate regrind | High scrap volume, single material per press, tight floor space |
| Inline with robot | Parts and runners dropped straight in by the take-out robot | Automated cells, unattended running |
| Central station | One large machine, scrap collected and brought to it | Many presses, mixed materials, space to segregate |
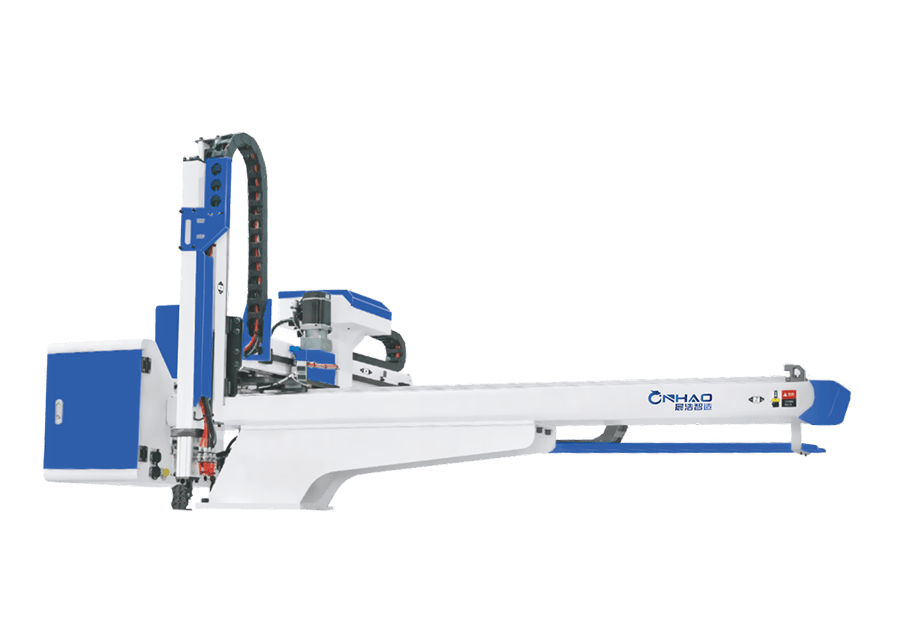
Beside-the-press wins when each press runs one material and you want regrind going straight back — no hauling, no mixing mistakes. Central wins when you’re segregating several resins or the scrap is bulky. If you’re running lights-out, the granulator needs to be part of the automation plan rather than an afterthought, tied into the same cell as your take-out robot and handled like any other piece of injection molding automation.
Getting regrind out of the machine matters as much as getting it in. A dedicated integrated suction loading system moves granules to the next stage without the dust and spillage of manual handling, and it fits into a интеллектуальная централизованная система подачи корма when you scale up.
Maintenance That Prevents Bad Regrind
- Daily — listen for changes in cutting sound, check the collection bin isn’t overfull and blocking discharge
- Weekly — inspect knives for nicks and dulling, check screen for blinding or damage
- Monthly — verify knife clearance, check belt tension and condition, clean the cutting chamber thoroughly
- Per sharpening cycle — sharpen as a matched set, reset clearance, and log it. Track hours between sharpening; if that interval is shrinking, something upstream changed
How to Choose: A Buyer’s Checklist
- Calculate scrap in kg/day, then required kg/hr at the screen size you’ll actually use
- Confirm the largest part fits the feed throat — if not, plan a crusher for first-pass
- Pick rotor type for your feed profile: closed for uniform, open for bulky and surge loads
- Choose screen size to match your virgin pellet size, not just for maximum output
- Specify noise control up front — enclosures are far cheaper designed in than retrofitted
- Plan dust collection and discharge conveying at the same time as the machine
- Check knife access and changeover time; hard-to-service machines get neglected
- Confirm spare knives, screens, and lead times before you sign
Frequently Asked Questions
How do I size a plastic granulator?
Work from scrap volume: parts per day multiplied by scrap weight per shot, divided by the hours you’ll run it. Then derate for the screen size you’ll actually use, since a finer screen cuts throughput substantially.
What screen size should I use?
Match the output to your virgin pellet size. Around 6 mm suits most sprues and runners; go finer for thin-wall parts and small components, coarser for thick sections where throughput matters more than uniformity.
Granulator or crusher — which do I need?
If the scrap fits the granulator’s feed throat, use a granulator. For bulky, thick-walled, or solid parts, a crusher does the first reduction and the granulator finishes. Don’t expect one granulator to handle both jobs.
How much regrind can I add back?
It depends on the resin, whether the material is clean and single-source, and how many times it’s been reprocessed. Clean sprues from one resin tolerate far higher percentages than painted, plated, or mixed material. Start conservative, test mechanical properties, and increase from there.
Why is my regrind dusty or stringy?
Dust usually means the screen is too fine, the knives are dull, or fines are recirculating. Strings and tails point to knife clearance that has opened up or knives that need sharpening. Check clearance first — it’s the most commonly skipped adjustment.
Bottom Line
The cheapest plastic granulator is the one you don’t have to replace in eighteen months, and that comes down to two numbers: the throughput you actually need at your real screen size, and whether your largest scrap fits the throat. Get those right, and the rest — rotor type, enclosure, discharge — follows straightforwardly.
If you’re rebuilding a reprocessing area rather than buying one machine, think about the flow end to end: size reduction, then consistent blending in a horizontal color mixer, then reliable conveying. Our guide to choosing a masterbatch blending machine covers the blending half of that equation.