




Mould Dehumidification: How to Stop Condensation on Moulds


Mould Dehumidification: How to Stop Condensation on Moulds
It starts the same way every summer. Thin-wall parts come out with faint water marks that wipe off and come back. Someone finds rust freckles on a polished cavity that was perfect in April. An operator stands at the press with a rag, wiping the tool between shots, because water is literally forming on the steel. The resin was dried correctly, the chiller is holding setpoint, and nobody can explain it.
In one sentence: mould dehumidification means keeping the air around the tool dry enough that no surface of the mould ever falls below that air’s dew point. Mould dehumidification — spelled mold dehumidification in US English — is the control of moisture in the air surrounding an injection mould. It is a different problem from resin drying, which removes water from the plastic itself, and confusing the two is why so many plants spend a week fixing the wrong machine.
What Mould Dehumidification Actually Means
Mould dehumidification is an air-side problem: liquid water forming on cold steel out of humid room air. Resin drying is a material-side problem: moisture absorbed inside the pellets that turns to steam in the barrel. Both produce splay, but the fixes are unrelated.
| Water on the mould | Water in the resin | |
|---|---|---|
| Where the water comes from | Humid room air condensing on cold steel | Moisture absorbed in hygroscopic pellets |
| When it appears | Humid months, early morning, after wash-down | Any season, whenever drying is inadequate |
| What it looks like | Water film or droplets on the tool; rust spots; surface wipe marks | Silver streaks from the gate; brittleness; bubbles |
| Quick test | Wipe the tool — water returns within minutes | Loss-on-drying test or dew point check on the dryer |
| The fix | Mould dehumidification: lower the ambient dew point or raise the tool temperature | Resin drying: dew point, temperature and residence time |
If you are still unsure which one you have, our injection molding defects guide walks through the diagnostic sequence, and the plastic dehumidifying dryer guide covers the material-side fix in detail.
The Physics: Dew Point, Not Humidity Percentage
Condensation has nothing to do with how “humid the air feels”. It happens when a surface is colder than the dew point of the air touching it. Plants that track relative humidity instead of dew point end up chasing the wrong number.
At an ambient of 30 °C, this is what the air will deposit water on:
| Relative humidity | Dew point at 30 °C ambient | Surfaces colder than this will sweat |
|---|---|---|
| 50% | ≈ 18.5 °C | Moulds running chilled water below ~19 °C |
| 60% | ≈ 21.5 °C | Moulds below ~22 °C |
| 70% | ≈ 24 °C | Moulds below ~24 °C |
| 80% | ≈ 26 °C | Moulds below ~26 °C |
| 90% | ≈ 28 °C | Almost any chilled tool |
A usable field rule for RH above about 60%: dew point ≈ air temperature − (100 − RH) ÷ 5. At 30 °C and 70% RH that gives 30 − 6 = 24 °C, close enough to plan with.
The design rule that follows from it:
Keep every mould surface at least 3 K above the dew point of the air around it.
So a tool running 10 °C water needs air at a dew point of 7 °C or lower. That is not air conditioning — that is a dehumidification duty, and it is why deep-chilled tools sweat in a normal factory in July.
What Condensation Actually Costs
| Consequence | What you see | Why it hurts |
|---|---|---|
| Corrosion and pitting | Rust freckles on polished cavities, stuck slides and lifters | Re-polishing costs tooling hours and the cavity is out of production |
| Surface defects | Water marks, wipe marks, dull patches on first-off parts | Scrap that looks like a process fault and gets diagnosed as one |
| Dimensional drift | Parts measure differently across the shift | Film of water changes heat transfer at the cavity wall |
| Downtime for wiping | Operators drying the tool between shots | Cycle time quietly inflated by manual intervention |
| Safety and electrical | Wet floors, moisture in cabinets and connectors | Slip risk and nuisance faults on the machine |
Three Ways to Control It
There are only three practical routes, and most plants end up using two:
| Method | How it works | Best for | Limits |
|---|---|---|---|
| Raise the mould temperature | Move the tool surface above the ambient dew point | Tools running near ambient; mild humidity | Costs cooling time and cycle; impossible for deep-chilled tools |
| Room or zone dehumidification | Dry the air in the moulding area to a target dew point | Low-temperature tools, optical parts, humid climates | Capital and running cost; needs infiltration control |
| Local dry-air shroud | Blow dry air only around the mould area | One or two problem presses | Treatment is local; operators and access need planning |
The first one is free and should always be tried first: on a tool running 15 °C water, going to 18 °C may cost a second of cooling and solve the problem entirely in a mild climate. When the process genuinely needs cold steel, mould dehumidification of the air is the only answer.
Which Dehumidifier Technology
Two technologies dominate, and they are not interchangeable:
| Refrigerant (condensing) dehumidifier | Desiccant rotor dehumidifier | |
|---|---|---|
| Principle | Cools air below its dew point, water condenses out | Water vapour is adsorbed onto a rotating desiccant wheel, then driven off by heated regeneration air |
| Practical range | Roughly 45–55% RH; dew points around 12–18 °C | 20–40% RH; dew points from ~5 °C down to −20 °C and lower |
| Low-humidity performance | Efficiency collapses as RH drops; coils ice up | Holds performance at low RH — this is the whole point |
| Energy profile | Compressor kW only | Compressor plus regeneration heat (electric, steam or gas) |
| Typical use | Comfort and light industrial drying | Process humidity control, cold tools, moisture-sensitive production |
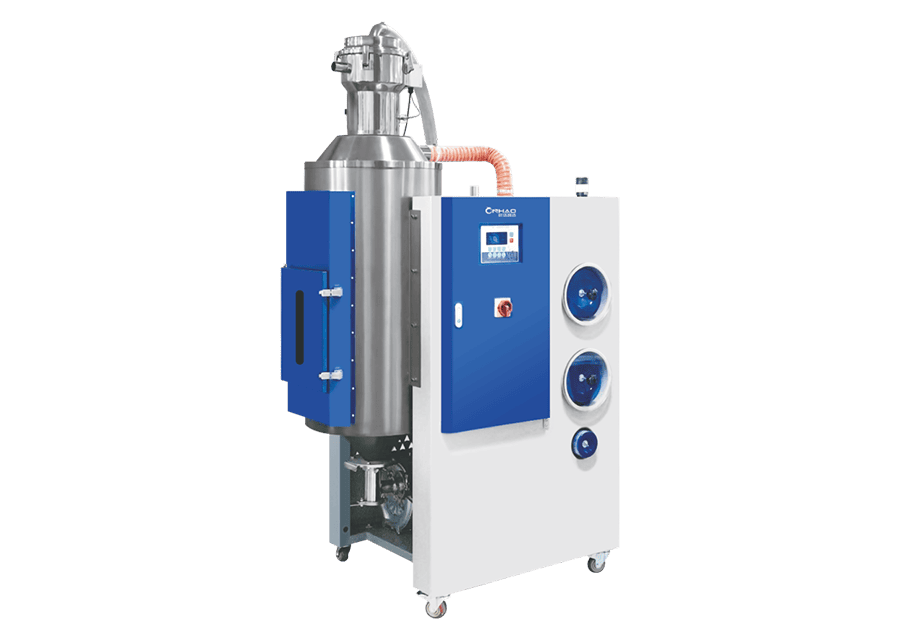
The desiccant rotor inside an ambient dehumidifier is the same family of technology used in resin dehumidifying dryers: a honeycomb wheel coated with silica gel or zeolite, split into a process sector that adsorbs moisture and a regeneration sector that releases it. Streamline Eco Tech’s honeycomb rotary dehumidifier and dual molecular sieve dehumidifier apply that principle on the material side; the same rotor and sieve principles apply when the load is room air instead of resin.
Sizing a Mould Dehumidification System
Sizing starts with the moisture load, not the floor area. Four inputs decide it: zone volume, the dew point you must hold, the humidity of the make-up air, and how much outside air leaks in.
Worked example (illustrative). A moulding zone of 20 × 15 × 5 m — 1,500 m³ — with ambient air at 28 °C and 70% RH, held at a 12 °C dew point:
- Ambient air at 28 °C / 70% RH carries about 16.7 g of water per kg of dry air
- Air at a 12 °C dew point carries about 8.7 g/kg
- Difference: roughly 8 g/kg to remove
- Air in the zone weighs about 1,500 × 1.16 ≈ 1,740 kg, so the initial pull-down removes around 14 kg of water
- With one air change per hour of infiltration, the continuous load is about 1,740 kg/h × 0.008 ≈ 14 kg/h
That is a serious industrial machine, not a portable unit — and it shows why the infiltration audit below matters more than the room dimensions. Halving the air changes halves the machine.
Where the Water Comes From: The Infiltration Audit
Before buying capacity, remove the load you are creating yourself:
- Roller doors and dispatch openings — the single largest source in most plants
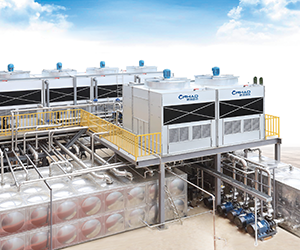
- Cooling tower drift and open water surfaces — check drift eliminators and siting; see our cooling tower guide
- Wet floors after wash-down — a flooded floor evaporates straight back into the zone
- People — roughly 0.1–0.2 kg/h of moisture each, which adds up on a shift
- Compressed-air blow-off and open machine doors on presses
- Wet regrind and wet material stored in the same zone
Then deliver the dry air where it matters: discharge at mould height and close to the tool, not at ceiling level, and log the dew point continuously rather than trusting a wall hygrometer.
Seven Mistakes in Mould Dehumidification
- Treating it as a resin drying problem. Drying the material harder will not stop water forming on cold steel.
- Specifying a refrigerant dehumidifier for a low dew point. Below roughly 45% RH it loses capacity fast and the coil ices.
- Sizing on room volume alone. Infiltration, not square metres, sets the machine size.
- Discharging dry air at ceiling level. Stratification means the mould never sees it.
- No dew point logging. Without a trend you cannot prove the fix or catch a failing rotor.
- Chilling the tool colder without drying the air. Every degree colder widens the gap you have to close.
- Ignoring the free fixes. Doors, drift, wash-down and a 2–3 K water increase come first.
FAQ
What is mould dehumidification?
Mould dehumidification is the control of humidity in the air surrounding an injection mould so that no surface of the tool falls below the air’s dew point. It prevents condensation, rust and water-related surface defects on the part. It is separate from resin drying, which removes moisture from the plastic material.
What dew point should I hold around my moulds?
Keep the air at least 3 K below the coldest mould surface you run. A tool on 10 °C water needs air at 7 °C dew point or lower; a tool on 20 °C water is usually safe in a shop held near 17 °C dew point.
Do I need mould dehumidification if my mould water is 25 °C?
Usually not. At 25 °C the tool sits above the dew point of most conditioned shops. The requirement appears when tools run below roughly 18–20 °C, or when the plant is hot and humid with poor air control.
Desiccant or refrigerant dehumidifier?
Refrigerant units are cheaper and adequate down to about 45–55% RH. For dew points below roughly 12 °C — which is what cold moulds need — a desiccant rotor dehumidifier is the practical choice.
Can I simply raise the mould temperature instead?
Often yes, and it should be the first test. Raising mould water by 2–3 K can lift the tool above the dew point at the cost of a little cooling time. It stops working when the process genuinely needs cold steel, at which point dehumidification is the fix.
How much does a mould dehumidification system cost?
Small portable refrigerant units start in the low thousands. Industrial desiccant rotor packages sized for a production zone run from the low tens of thousands upward, plus ducting and installation, with regeneration heat as the main running cost. Always size after the infiltration audit — tightening the envelope is far cheaper than buying capacity.
The Bottom Line
Mould dehumidification is an air-side discipline: hold the dew point of the air at least 3 K below your coldest tool surface, and water stops forming on the steel. Do the free fixes first — doors, drift, wash-down, a couple of degrees of water temperature — then size a desiccant rotor machine against the moisture load that remains, not against the floor area.
Chilled water temperature and humidity are two halves of the same problem: our water chiller guide sets the mould temperature, and the plastic auxiliary equipment guide shows how drying, cooling and material handling fit together around the press.